Our Harry Potter party throw down
Well all of my planning and designing/printing/cutting etc. is done. Our Harry Potter party was sort of a success and I had a blast making everything for it but I'm really really really glad that it's over! whew! That was a lot of work. I had all these plans for potions and activities for the kids and at the last minute I decided to book a magician. WORST magician ever! He did 3 tricks that left everyone thinking... what just happened... was that a trick? did anything happen? He was an elderly man who had recently had surgery and he said it left him very spacey and he'd like black out in the middle of doing something. Total fail there and he took over an HOUR but Ezra still talks about the wizard so I guess that's all that matters.
My goal with this post is to create a one stop shop for your Harry Potter party. I did so much research and leg work during the creation of this party that I wanted to just kind of put it all out there for you and at least make it easier for you to plan your own Harry Potter party.
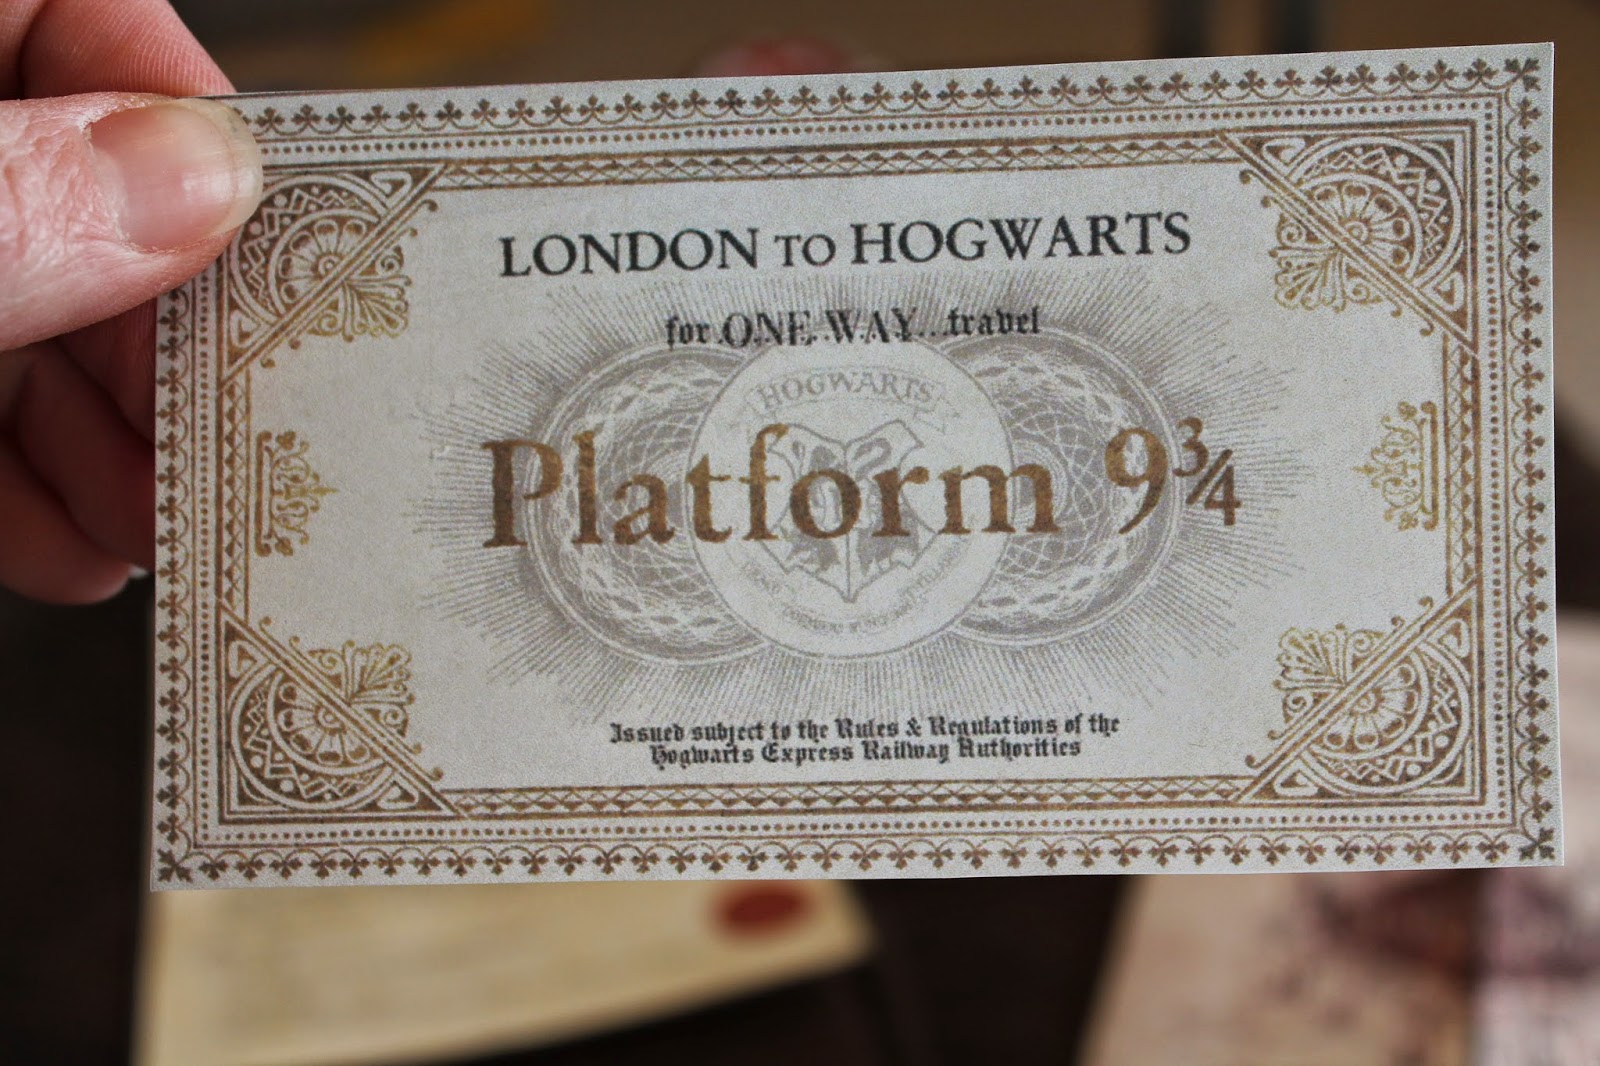
I posted these before but here are the invitations that I used. The Marauders map opened up to a folded invitation that was glued into the inside of the folds so that it folded out like a marauders map should :) then since it created a nice little pocket I put the train ticket and supply list into the pocket then tied a piece of thin rough hemp around the whole thing to hold it closed.


Here is the file that I created for the map. Just print and fold to make the edges meet in the center so that everything lines up like 2 doors. If you see the grey dots on the invitation below that marks the center of the invite so just line each side up with that dot and it the image will be centered.


I ordered a large sheet of plastic brick patterned back drop material and created a curtain with it that I taped around a shower curtain rod from Wal-Mart and braced it across the entry to the house.


This is the owl file that I used to create the coloring pages with.


When everyone had arrived for the party it was time to "sort" them into their houses. I'd seen some really cute ways of doing that but I wanted something that wouldn't take up too much time since we were having a magic show so I just had each child sit on a little stool and placed a sorting hat on their head and had them reach into a black bag and pull out a card. Each card had a House on it with information on that house and its' representative colors. They then were given a badge to wear with their house colors and the Hogwarts' seal. We were going to play Quittich and the Houses would have been pitted against each other but we ran out of time for that.


To make the packages seem more realistic I printed out these shipping tags onto full sheet label paper and cut them out then placed them on the packages.


After the kiddos got their money, they then got to go and get their wands. I had made each wand using clay and precut packaged 12" long dowels that came in a package of 8 both from Michael's. I basically just formed/shaped the clay around the wooden dowel in different shapes and textures and then once dried I painted them with different colored brown paint.


I just couldn't bring myself to make wand boxes. I wanted to just order necklace jewelry boxes but my wands were too long :( So instead I just wrapped them with some brown paper and called it a day.


Maddox wearing his Harry Potter glasses.


My goal with this post is to create a one stop shop for your Harry Potter party. I did so much research and leg work during the creation of this party that I wanted to just kind of put it all out there for you and at least make it easier for you to plan your own Harry Potter party.
I posted these before but here are the invitations that I used. The Marauders map opened up to a folded invitation that was glued into the inside of the folds so that it folded out like a marauders map should :) then since it created a nice little pocket I put the train ticket and supply list into the pocket then tied a piece of thin rough hemp around the whole thing to hold it closed.


Here is the file that I created for the map. Just print and fold to make the edges meet in the center so that everything lines up like 2 doors. If you see the grey dots on the invitation below that marks the center of the invite so just line each side up with that dot and it the image will be centered.
Here is the file for the supply list. Just print it out onto parchment paper.
This is the file for the train tickets.
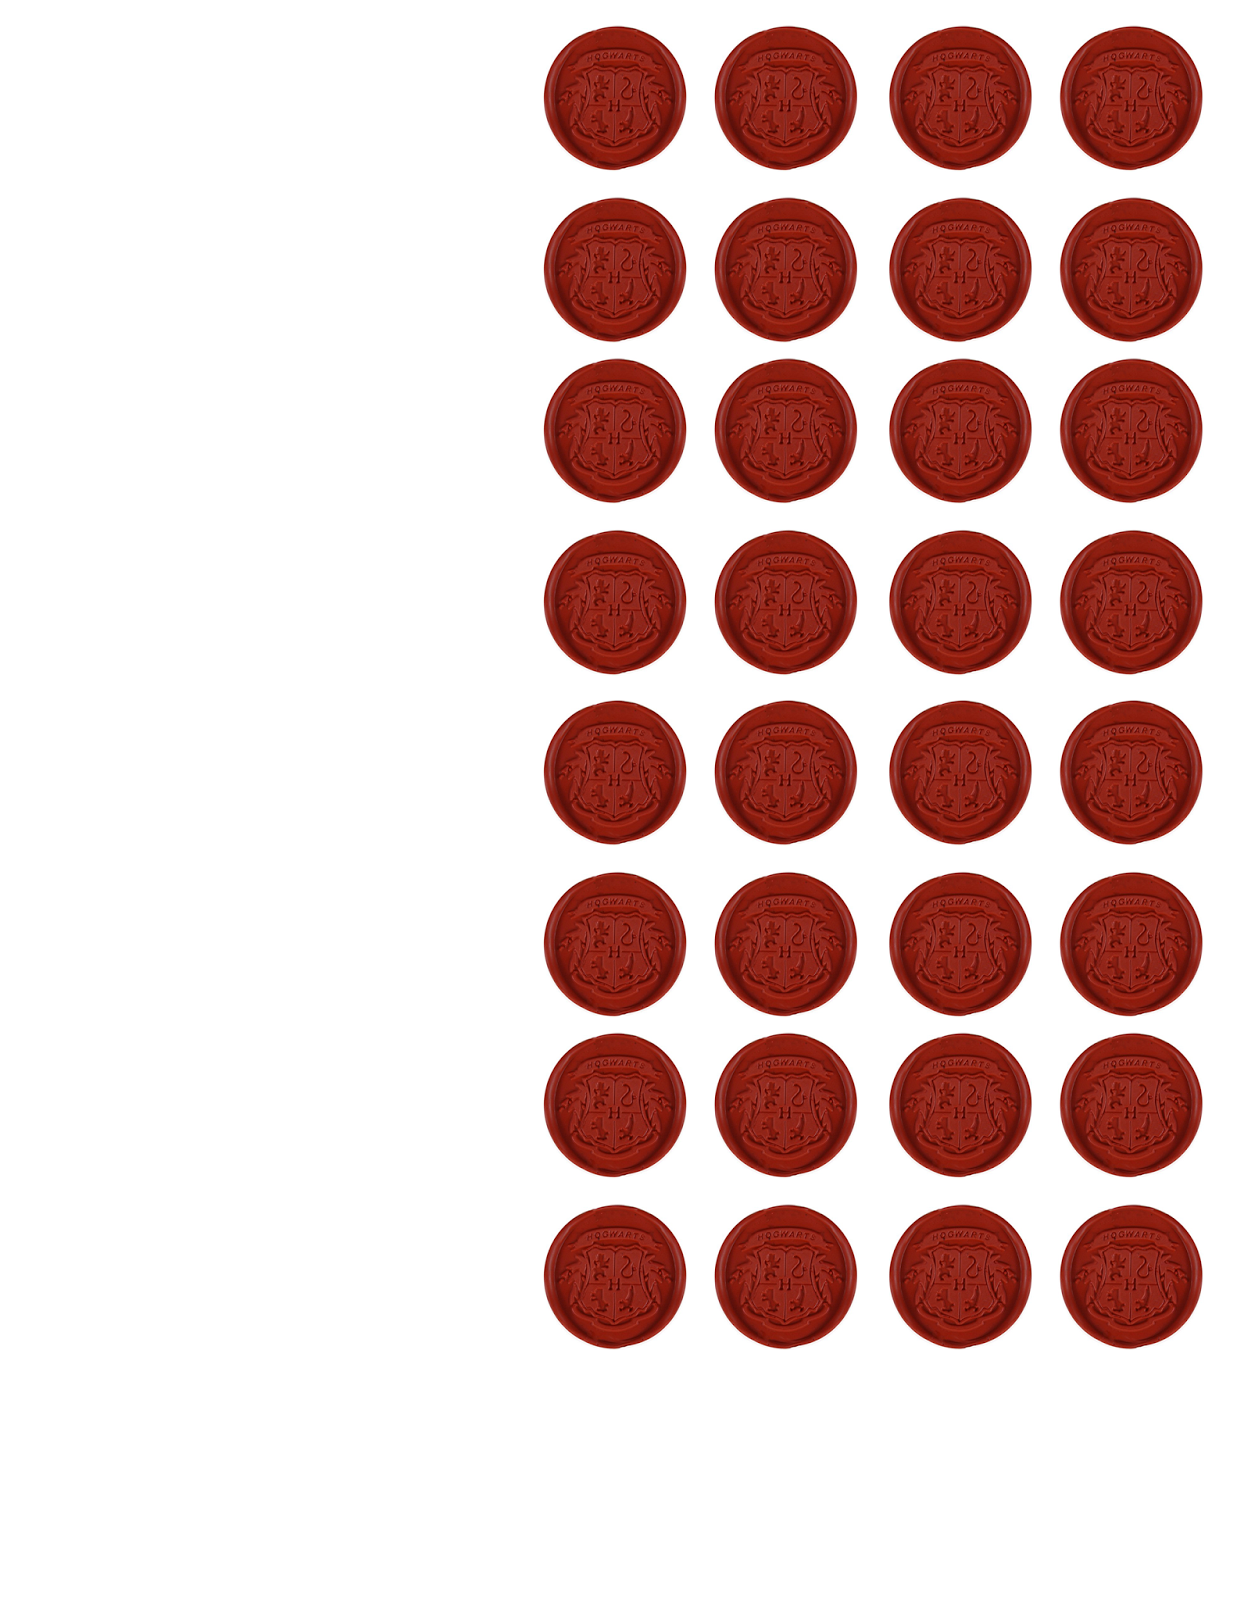
To seal the envelopes I just printed a faux Hogwarts' seal onto full page clear sticker paper and used a 1" circle punch to cut them all out and stuck them to the envelopes.
The morning of the party! Ezra was sooooo excited that it was finally here!


Cousin Cooper had come in the night before and we had a sleep over so he got in on the action as well.


The platform 9 3/4 sign I bought as a download from an Etsy seller and just had it printed at Staples and laminated. I didn't realize it would print so large but at least it was visible :)


I also created this dinky little 4 Privet Drive sign just using what I had lying around in the garage.

Here is the digital file for you to save to use for yourself if you like. Just click on the image and save to your computer then print in any photo editing software.
Once you passed through the brick wall, this is what you see. You can get the Hogwarts banner here.

I decided to decorate the fireplace like it was in a common room, so I printed an image of Dumbledore and just taped to a painting I usually keep over the mantle anyway, then added a little House bunting and some broomsticks. My sister just went to Disney so she brought me back a golden snitch and a quaffle which I used as well.

Here is the Dumbledore file that I used.
Here are the files for the banner. Just print out each one separately sized as you choose then cut out the seals and glue them onto the banners. Or just use the banners without the seals however you like.

I wanted to get several stuffed owls/cats/toads and give each child one but that was going to be really pricey so I just decided to have the kids decorate and name their own owls, so I put out feathers, glue, glitter pens, and crayons so they could personalize their owls.

This is the owl file that I used to create the coloring pages with.
Each place setting had an owl coloring page, a black plastic cauldron (purchased at Michael's during Halloween) and a jello shot cup which I was going to use for a magic trick involving milk, food coloring, and dish soap.


I also wrapped mini cans of Sprite with a file I created to make it look like a product you'd find at Zonko's or Honeydukes. It was called "Liquid Coloris Mutatio" or color change liquid. Basically it's for an easy way to make a clear liquid "magically" appear different colors for each child.

I don't have an actual photo of the effect because I put the ice into the cups too early and it melted thereby ruining the surprise. But basically you take an opaque cup (I used black paper cups) and drop a few drops of food coloring into the bottom and let it dry. The only RIGHT before you do the "trick" add some ice to the cup to cover the food coloring, then have the kids open the can and pour in their clear Sprite and each drink magically turns a different color. I've seen this used as a way to "sort the kids" into their houses as well.

Here is the file for the sprite can wrappers. I can't remember if it's sized to exactly 8.5x11 or just 8x10 so you may have to print one out first and do a trial run.
I created these Proclamations signs found in the 5th book as well and had them posted around the party.

Here are the files for the proclamation posters. I sized them for legal paper and printed them out as 8.5x14 inches but you will still have to trim off some of the excess since they don't fit the page exactly.
One of my favorite parts of the party was the bulletin board. I tried to create or find images of things that I would expect to see on any school student notice board.

I made a sign for Trevor since he's always going missing, and created some humerous (at least to me) telegrams from the owl post.

I found some wonderful Harry Potter propaganda art on Google Images so I printed those out as well.


I didn't get a good picture of it but if you look at the photo below you will see a bit of torn parchment with runes on it. I actually used Elvish runes created by Tolkein and created some of my own to make a fake coded message from HP (Harry Potter) to DA (Dumbledore's Army)

Here are the files to the bulletin board images I used:
Here is the file for the letter from Professor McGonagall. Just print onto parchment paper.
One of my other favorite finds was this Ministry of Magic Identity card. It was an editable file that was not created by me but by some other brilliant mom that allowed me to add text and photos to create this one of a kind ID card for Ezra. Including his own fingerprints. It has several pages and looks like a passport.


I also wanted to have some of the more "famous" lines of the movies represented so I made/found some files which I printed out and frames in some cheap Goodwill found frames that I just spray painted black to match.


Here are the files for the images above. Just size them to fit your needs and print then frame.
More propaganda I had posted around. To age the Sirius black poster I just used food coloring and water and did a "wash" of the paper and it gave it an old wrinkly effect.

File for the Death Eater notice. To be printed on legal sized paper.
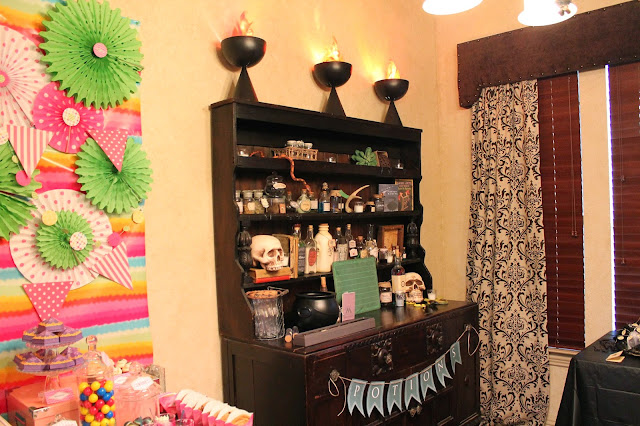
The potions cabinet:

My sister let me borrow her faux fire lanterns that we used for her son's Jurasic Park party and they added a fun touch. I had several real candles dispersed throughout the potion bottles and forgot to light them. I also forgot to write down a potion I wanted to include on the vintage chalkboard seen above. I DID however manage to get dry ice and had it bubbling/smoking up out of the cauldron seen above but it didn't last very long and I got tired of trying to run and refill the bowl it was in so we just let it be boring :(

I basically just gathered bits and bobs of things I had at home to create potions. Like an old wasp next, and body wash for the Polyjuice Potion, decorative moss for the dandelion root. Blue colored water with glitter for phoenix tears. I got the jars from different jellys and sauces that I just kept over the last few months and removed the labels. The other bottles I got from Hobby Lobby, Michael's, T.J Maxx, and Marshals. Basically if I saw a cool bottle I bought it. Including a bag of brown glass bottles I bought in bulk at an antique mall in town.

For the school books I found art online and just sized it to fit some old books I had and then created these little books.

Because I didn't know if I would leave the book open or closed I added a few pages inside the book to give it an authentic look.
Here are the files I used for the books:
I found these super tiny bottles (the clear ones) in a packet of several bottles at Michael's in the scrapbooking section. The brown ones were part of the bag-o-bottles I found at the antique store.
The littlest bottle in front that has "werewolf" teeth are actually cat teeth from diseased teeth I had to extract at work that I had been collecting just for the party. Okay it's creepy but a good effect :)


Knowing after last year's superhero party that I was going to do a Harry Potter party I was able to snag a lot of cool stuff after Halloween on sale like these skulls and the little tiny skulls you see hanging from some of the potion bottles. Not to mention the awesome skull ceramic jar that became my "Draught of Living Death" bottle.

These test tubes were used to store the kids "potion" (slime) in. They are made by Martha Stewart and I got them during Halloween at Michael's.


The potions garland seen above was printed out from THIS site. Here are some of the potion labels I used:
Print this one out on parchment paper.
I also was blessed by Stitched and Salvaged, an Etsy shop that sent me free potions labels after I simply sent an e-mail inquiry that wasn't replied to in a timely manner (her thoughts not mine) and she sent me some labels! They were awesome, pre cut out on sticker paper, and were hand made so they felt very authentic. So the Polyjuice potion label and Amortentia labels you see as well as several others all came from the above mentioned shop on Etsy. I honestly can't remember where I got all of them and potion labels soon became my nemesis. I was very happy to be done with the potions for sure. If you do a Google images search you will find TONS of potions ideas and labels to use to your heart's content.

Here's Ezra getting "sorted". Is it bad that I got super excited when he drew out Gryffindor? I was like, YES!!! Like he got into Harvard or something :)

Cousin Maddox's turn to draw.

Ravenclaw!!!

These are the sorting cards.
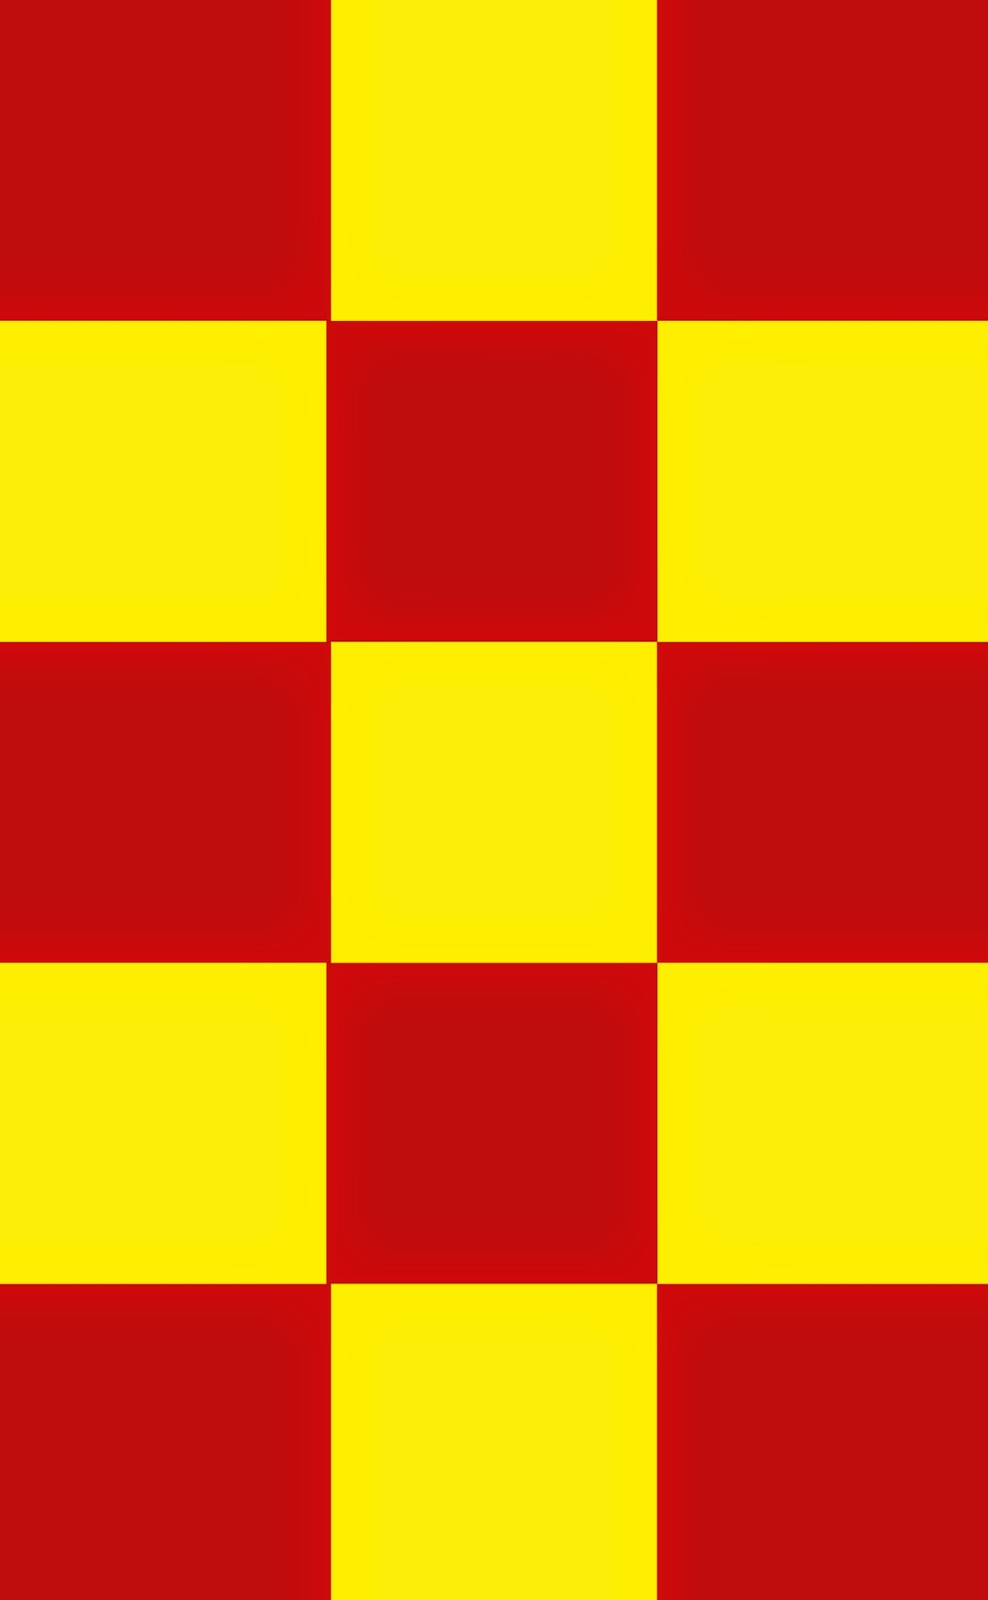
Here are the files for the sorting cards. I sadly can not find any files for the actual Hogwarts crests that I used for the top of the ribbon badges.
House badges with safety pins hot glued onto the backs.
Now off to the Owl Post:
After being sorted, each child had to go to the Owl Post to get their package left by the owls. The packages contained a Standard Book of Spells, a pair of glasses, a feather quill, and a key to their vault at Gringott's Wizard Bank.

I used an old vintage trunk and wrapped some boxes in brown paper then printed off some owl post shipping forms I found online and filled them in. Then I created some Daily Prophets and a Quibbler magazine. I used a Gryffindor scarf I bought with Michael at Harry Potter World in Orlando for some extra color. And put the packages in a small trunk I had at home from Hobby Lobby. I bought Hedwig on Amazon here.


These files when blown up really lose their resolution but if it's just for a quick effect I think they suffice just fine. I wrapped the print outs around real newspapers and made sure the edges didn't stick out the sides.

The same stickers used for the large packages were used here on their individual ones just printed a little smaller. I found the feathers at Michael's in packs of 12.

Maddox's key to his vault.

Here are the files I used to create these items:
Gringotts key tags:
To make the packages seem more realistic I printed out these shipping tags onto full sheet label paper and cut them out then placed them on the packages.
I found that the quibbler when printed out fit nicely over a National Geographic magazine without losing too much of the original image's resolution.
This is the back:
This is the front:
Once they got their keys to their vaults at Gringotts, each child had to fill out a withdrawl receipt to get their gold which they used to purchase wands at Olivanders and sweets at Honeydukes.

Here is the file for the withdrawl forms:
I found an old saving account ledger book that I had from my old bank and I repurposed it into a Gringotts prop.
File for the Gringotts' savings ledger. Printed out onto parchment paper then aged with distress ink.
***NOTE: Since they are made of clay the wands will break easily. Warn your students that these are wands and not swords! If they are too rough with them they will crumble. Or at least the bits that make them look like wands and not just dowels.


This is the file I used to create the Olivander's sign. I just blew it up to fit an 8x10 sheet of cardstock and then cut it out.
My adorable and very obliging brother, Weston, dressed up as a wizard to help me hand out the wands.

Each wand had a different core as in the movies. My wands contained either dragon heartstring, troll whisker, phoenix feather, or unicorn tail hair. Which was denoted by the image attached to the tag.


Each wand also had a receipt from the Swish and Flick Wand Company (the manufacturers of wands). It stated the name of the wand, the length, the type of wood it was made from, and the price. I tell ya it broke my heart when the kids just tore off the receipts and didn't bother to read about their wands. They are only 5 and 6 so I get it but I get so wrapped up in all the small details that when they are missed it kills me. Most of the wands were named from things on Game of Thrones by the way :)

Here is the file I found for the receipt. I just cut off the bottom and added my own text in photoshop.
This is my edited version of the file above ready for printing.
I just printed out the Olivander labels onto sticker paper and used a 2" circle punch to cut them out and stuck them to the brown paper I @ Goodwill of all places.

Here is the file for the 2" circles that you can just punch out.
Files for the wand cores printed out onto parchment paper:
Maddox getting his wand:


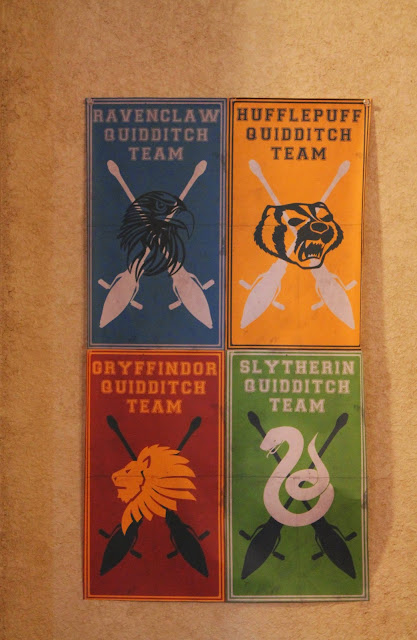
I saw some really great ideas for Herbology class. But in the end it was a last minute addition so I just went with some plain flowers and I thought at least the girls would like it. The poster above the flowers I actually 4 posters that I just taped together.


Here are the files for that poster. ***NOTE: I am just realizing that I don't have the Ravenclaw team on file anymore, but if you do a Google Images search I'm sure you can find it and size it accordingly.
Next they were off to Honeydukes Sweet Shop to spend the rest of their Galleons from Gringotts.

I got all of the paper fans and garland from Oriental Trading. The wrapping paper was from Target that made the foundation for the backdrop. The tablecloth was from Hobby Lobby. Some of the digital download Honeydukes printables I purchased from Anders Ruff.

I made all of the Bertie Botts Beans boxes and Chocolate frogs boxes as well as the frogs themselves. We had chewy eyeball cupcakes, pumpkin pasties, sherbert lemons, rootbeer earthworms, polyjuice pudding, droobles best blowing gum, chocolate covered insects, chocolate chip cookies, sugared rat pops, fizzing whizbees, and cake of course.


My attempt at recreating Hagrid's birthday cake to Harry from the first movie. It was divine. I wish I had some left right now!

Here are the files for the boxes above:
This is the spell book that each child was given:
I used thick parchment paper to create a cover for the books then printed these "covers" onto clear full sheet label paper and then just stuck it to the parchment.
Maddox wearing his Harry Potter glasses.


Kindergarten friend J.J checking out his spell book.

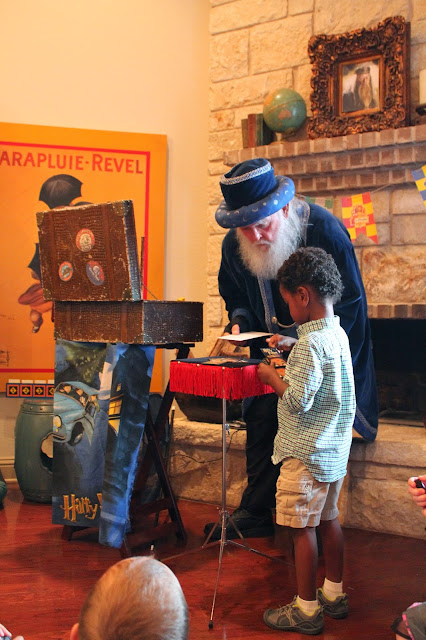
After the wands were passed around it was time for Professor Moon to work some magic.

He certainly looked the part.

He asked Ezra to go up and help his with a trick.


He also taught the kids how to "swish and flick" their wands. They had a good time, and Ezra still asks me questions about Professor Moon like where was he in the movie, and how did he get to our house from Hogwarts. He's convinced he's the real deal!

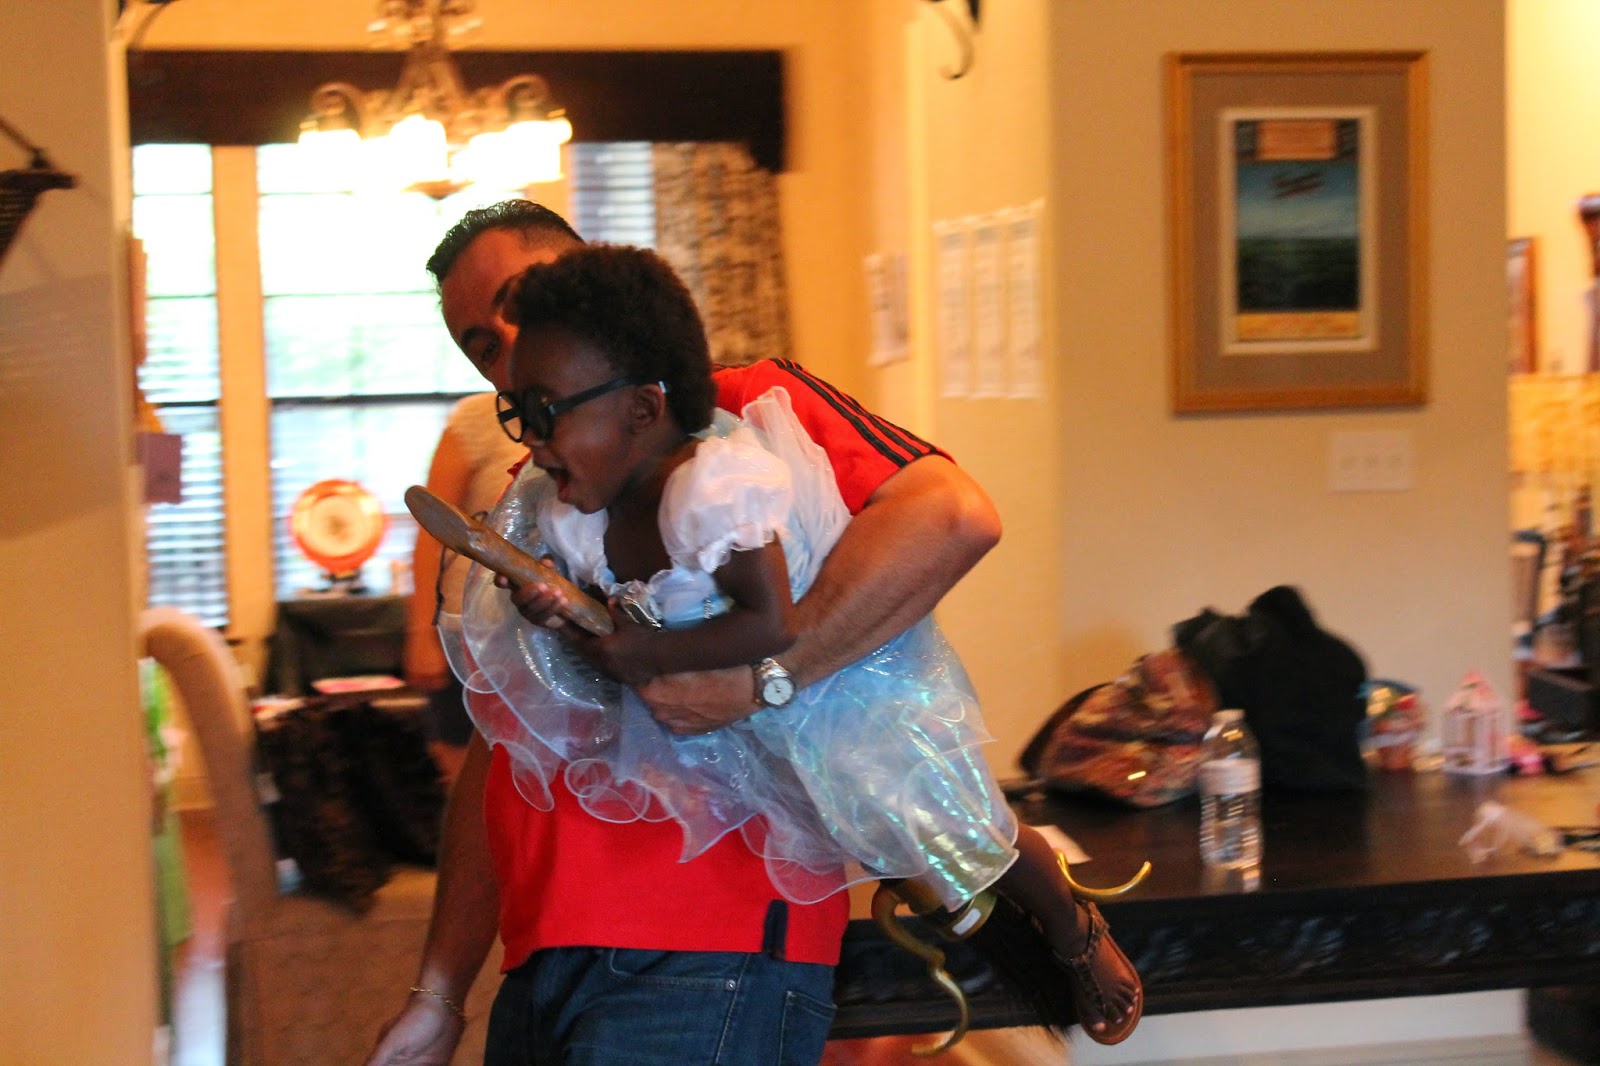
"Uncle" Carlos taking Libby for a broom ride on her Nimbus 2000!


Lastly I forgot to get photos of my "Three Broomsticks" are but here is how I made my Butterbeer keg:
I basically followed the directions I found HERE as best as I could. Honestly, some of the measurement talk was like wwwwhhhhaatt?? so I just winged it. I bought some faux wood plastic backdrop material very similar to the brick material online and just hot glued it down to my frame, then used black poster board cut into strips to create the bands on the barrel as in the tutorial I mentioned above.


Here is the Butterbeer label I used. The darker option worked better for my color woodgrain.


Comments