Freebies

In an effort to consolidate my digital freebies to one place I'm going to be putting them on this page (note: for the most up to date freebies check the blog posts since I'm not great about cross posting them all here). All you have to do is click on the image to enlarge it and then save it to your computer. I love photoshop for editing my images and with the frames it's quite easy to do. Here's a little tutorial from www.shabbyblogs.com on how you can do that:


Here's a little quick page freebie for ya. Just click on the image to enlarge then save to your computer and add your own photos and text in any photo editing software.
Here is the version without the added word art:

With word art:

Here's the word art by itself:


I recently attended a Christmas sale with lots of crafts, clothes, etc. and I saw a garland with the idea of writing the meaning behind each of the 12 days of Christmas. I thought it was a great idea but wasn't about to splurge on the $28.00 garland when I could make my own. So here's what I came up with:

I wanted to share the files with you guys so you could just print out your own version and display it during the holidays. These files are quite large so you could technically cut and paste each one on a seperate page to print them larger. I grouped them together b/c I knew I wanted them smaller (3.5 X 5) so I used photoshop and selected 8X10 for each page of 4 which rendered 3.5 X 5 size images to cut out. Hope that makes sense. I just wanted them to be larger so you guys could shrink them to whatever size you would like.

I saved this original file as a different size then the others by accident, so I couldn't put it in a group of 4, so you'll have to print this single one out seperately. I just clicked print and changed the size to 3.5 X 5 and voila!


I love the color combo in the quick pages/photo frames below. Just click on the images to enlarge then save to your computer.


For all of the football fans out there:


A fun fall quick page:

I wanted to create some cute polaroid frames with this washi tape for my own blog posts but of course I had to share with you guys as well. Here's a cluster that you can add on top of any of your own digital scrapbooking papers and just slip your own photos beneath the frames.

Here are the frames seperated out individually:


This last one is just a quick page. Just click on the image to enlarge and then save to your computer:


This one can be used for scrapbooking or as a blog header. Just click on the image to enlarge it. (900 pixels wide)


These little freebies can be used as stickers for cupcake/cookie boxes to personalize them up a bit. You could also use them as blog buttons if you shrink the size.


For this sample one I used the font "Halo Handletter" for the name, and "TF2" for the rest of the announcement. I haven't checked the size of these when printed out so they may need to be resized once you've added your text and photos. I would just print them onto a heavy cardstock or nice matte finish photo paper and then cut them out so you keep the nice rounded edges.


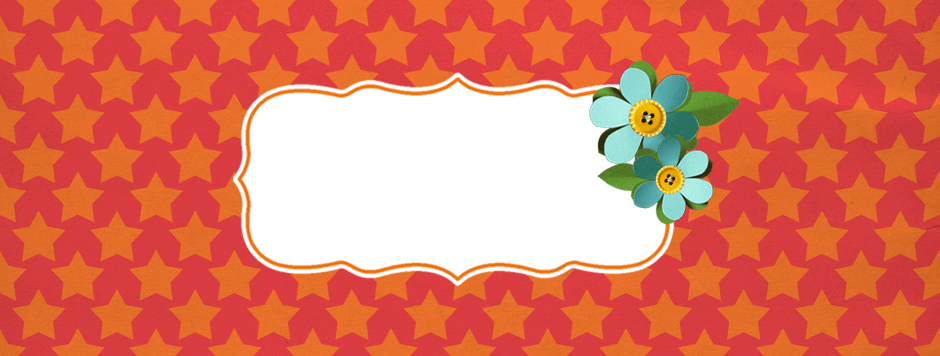
Here's a really simple little header for your own bloggy bling. It's 940 pixels long which will be perfect for most any 3-column blog background. Just click on the image and copy it to your computer then add your own text and voila!


For the "blinkies", just click on the images below and you will be redirected to a page where you can copy the HTML code directly then just paste it into your widgets side bar on your blog and Presto!


You can add text to this image to create to your heart's content :)


I created these little printable baby shower invitations. There are 3 options - boy, girl and of course one for little LSU Tigers!
Just click on the images below to enlarge then save to your computer. All of the files are saved pre-sized so all you have to do is add text and click print.
Here's a sample:

(save the image below to your computer)

To add a 3-D effect I added some mini clothespins (buy them HERE) and some pink and white baking twine:


I'd used a scallop punch to cut the little tea pots out to create a fun garland or you can just add text to make place cards or for gift bags. The options are endless:

For this larger teapot I used a large circle punch to create another option for adding a 3-D effect to the cards or they can be used to label goodies on a treat table or to label different types of tea:


Here's another option for creating a 3-D effect with the large circular cut out:

Here are the other files that you can edit to your heart's content!


Click on the photo below to enlarge it and then just save it to your computer.


These 2 can be shrunk to use as placecards or enlarged as notecards.


Fun School Bus:
For the sample version I used some of the sassy girls from my clinic as models :)

School Days cluster frame:
Ezra's actually baking cookies but I didn't have any pics of him reading or coloring.


