Treat box printable and tutorial
Here's a great, easy, and fun template and tutorial for you guys. Today I went to my mom's house and she'd brought back some pralines from Louisiana. Of course the pralines were delicious but what I fell in love with was actually the packaging (I'm a total sucker for cute packaging. I probably would buy dog poop if it was wrapped up cute enough).
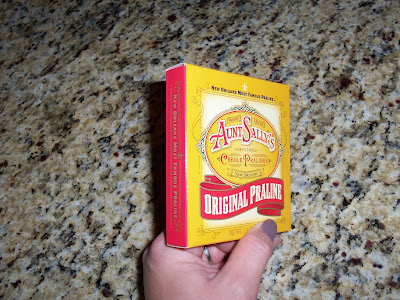
I decided to take home a box and take it apart to create my own template to use for goodie boxes for parties and holidays. I LOVE making pralines. I did a post on how I make mine HERE if you want to check it out. So I thought that it would be super cute to be able to wrap them up individually.
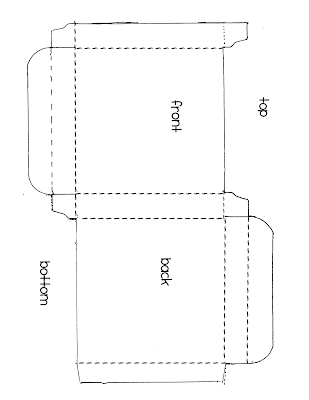
So here's what I came up with:
Just click on the images below to enlarge and then save to your computer. (Don't change the file types, leave as .png images)
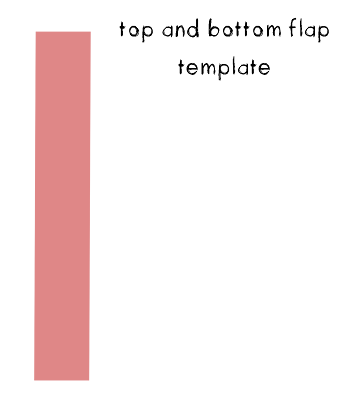 (seen on my box as the polkadot sections)
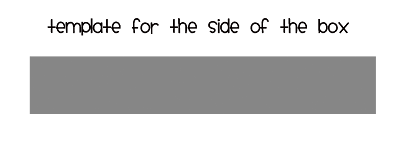
(seen on my box as the pink lace design with text)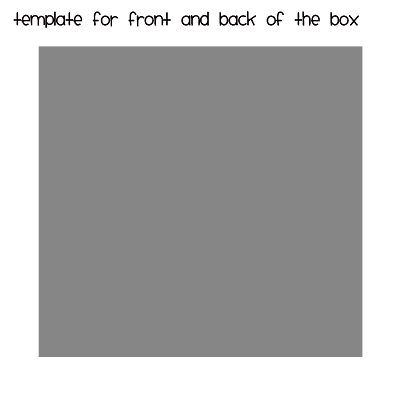 To use these templates, just save them to your computer. Then in some type of photo editing software (I used photoshop) you simply create a "clipping mask" using what ever paper or image you want over the shapes I've provided as they're sized nearly perfectly to the original template. Below is a screen shot of what I did:
click on the images below to enlarge:
First I opened up the templates in individual files and then created clipping masks with some digi scrapbooking paper. I then added text and embellishments. Once I liked what I created I simply clicked on "merge visible" to mesh the layers.
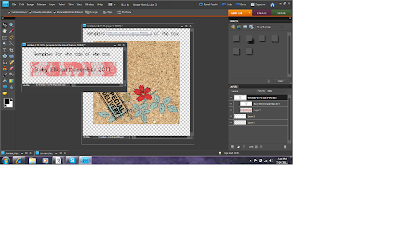 I then opened up the blank box template file and just dragged my merged template layers onto the blank template. I did have to enlarge some things slightly to try and cover up the dashed lines so that wouldn't be seen in the end product.
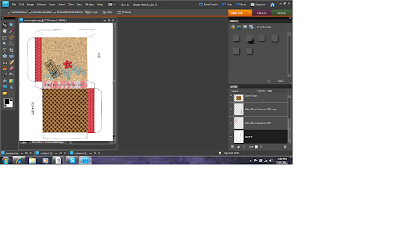
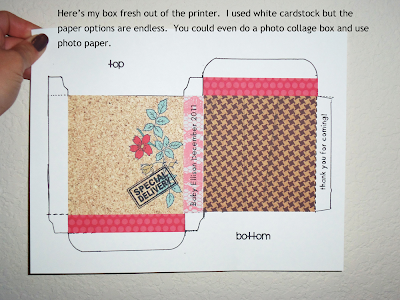
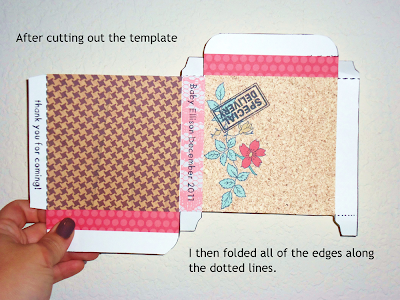
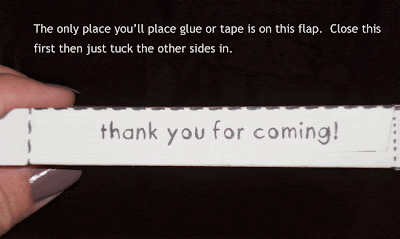
Here are some images of my finished product. I added some baking twine and a little metal tag I had left over from my sister's baby shower to give an example of what you can add to the boxes.
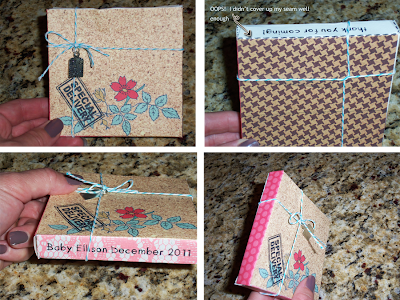
I hope you guys find this useful! I know that I can't wait to find a reason to use this template to create some fun and unique treats!

I decided to take home a box and take it apart to create my own template to use for goodie boxes for parties and holidays. I LOVE making pralines. I did a post on how I make mine HERE if you want to check it out. So I thought that it would be super cute to be able to wrap them up individually.
So here's what I came up with:
Just click on the images below to enlarge and then save to your computer. (Don't change the file types, leave as .png images)

 (seen on my box as the polkadot sections)
(seen on my box as the pink lace design with text)
 To use these templates, just save them to your computer. Then in some type of photo editing software (I used photoshop) you simply create a "clipping mask" using what ever paper or image you want over the shapes I've provided as they're sized nearly perfectly to the original template. Below is a screen shot of what I did:
click on the images below to enlarge:
First I opened up the templates in individual files and then created clipping masks with some digi scrapbooking paper. I then added text and embellishments. Once I liked what I created I simply clicked on "merge visible" to mesh the layers.
 I then opened up the blank box template file and just dragged my merged template layers onto the blank template. I did have to enlarge some things slightly to try and cover up the dashed lines so that wouldn't be seen in the end product.


Here are some images of my finished product. I added some baking twine and a little metal tag I had left over from my sister's baby shower to give an example of what you can add to the boxes.

I hope you guys find this useful! I know that I can't wait to find a reason to use this template to create some fun and unique treats!


Comments